If you’ve experienced fading or unreliable stopping power, hydraulic brake repair might be exactly what your bike needs. At Vargas Bicycle Workshop, we often see cyclists riding with inefficient or even unsafe brakes, simply because hydraulic systems are less familiar than regular cable brakes. Let’s break down what’s involved, when to take action, and how you can extend the life of your brake system without headaches.
Hydraulic brakes use fluid to transfer force from the lever to the caliper, which clamps your rotor and stops the wheels. That’s great for modulation and power—until something leaks, the feel gets mushy, or the brakes howl in protest. The most common issues we see in the workshop are:
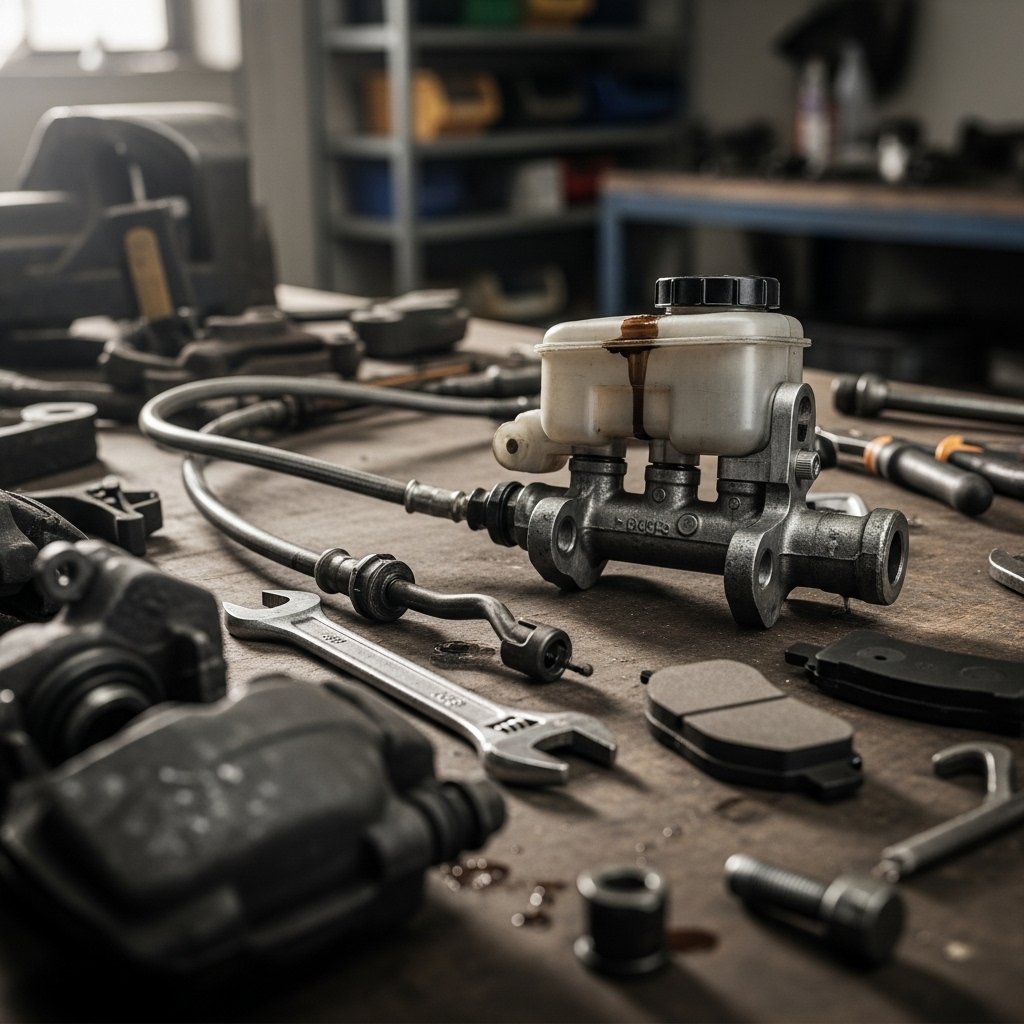
- Loss of braking power from air bubbles or old fluid
- Spongy brake levers, even after adjusting the caliper
- Buildup of grime on the caliper or pistons, causing uneven pad wear
- Caliper leaks—leaving mysterious oily slicks by the wheel
- Sticky pistons that won’t retract, leading to pad drag
Unlike mechanical brakes, there’s less cable tension and spring adjustment you can do at home for most of these issues. repair requires a more precise approach—and sometimes, a bit of specialist kit.
How to identify when your brakes need hydraulic brake repair
It’s tempting to ignore small changes, but in my experience, even a slightly longer lever throw or softer feel can indicate something’s wrong. Here’s what to watch out for:
- Reduced braking force, especially under heavy loads
- Levers that pull all the way to the bar before anything happens
- Visible leaks around the caliper or hose join
- Unusual noises—squealing, scraping, or a faint hissing
In any of these cases, stopping mid-ride to check things is always better than risking a dangerous descent. Moreover, catching minor issues early often means a quicker, cheaper fix.
Diagnosing problems: a mechanic’s workflow
At Vargas Bicycle Workshop, our typical repair process always starts with a visual inspection and a lever feel test. We look for fluid leaks, contamination, and check the pad thickness. Then, if the levers are spongy or inconsistent, we move on to bleeding the system. This pushes out any trapped air bubbles (the main culprit for a mushy lever) and replaces degraded fluid with fresh mineral oil or DOT fluid—depending on your setup.
For most home mechanics, a simple lever test and visual check is the first step. If you spot oily residue near the caliper or master cylinder, bleeding may not be enough and seals or hoses could need replacing.
Tools and tricks for hydraulic brake repair at home
While full repair sometimes needs the right tools (special bleed kits, correct fluid, small spanners), basic maintenance goes a long way. Cleaning the caliper and rotors with isopropyl alcohol once a month keeps grit and oil away from the pads. Gently pushing your pistons back into the caliper with a clean tire lever (with the pads removed) can help free up sticky movement—just be careful not to damage any seals.
If you’re attempting a full brake bleed, always match the correct fluid type: Shimano and Magura use mineral oil, while SRAM and most Tektro sets run on DOT fluid. Mixing fluids can destroy seals and cause further leaks down the line. For a detailed, brand-specific guide, check out the Park Tool resource on hydraulic bleeding.
Maintenance habits that prevent complex repairs
The best way to avoid messy or urgent repair is with small, regular checks. Here are my workshop-tested habits:
- Inspect calipers and hose junctions for leaks every few rides
- Clean rotors and pads with a dedicated cleaner, not household degreaser
- Check that pads aren’t below 1mm thickness—replace before the last sliver’s gone
- Bleed the system every 12–18 months if you ride regularly, or sooner if the lever feels soft
Little habits add up and make big repairs less frequent. If you ever feel out of your depth, don’t force it—ask a pro. Hydraulic systems run under significant pressure, and a cross-threaded bleed port or overfilled reservoir is a major headache to fix later.
Troubleshooting: when hydraulic brake repair means component replacement
Sometimes, no amount of fluid swapping or pad cleaning will solve a persistent issue. Old hoses can develop hairline cracks, master cylinder seals can become brittle, and calipers may warp if overheated repeatedly. In those scenarios, repair often means a new hose, lever, or caliper assembly.
Never be afraid to ask whether a specific part is worth repairing or replacing—budget options can sometimes disappoint, but so can sinking hours into a worn-out lever. Discussing your riding style and expectations with a mechanic is the best way to match the repair with your actual needs.
Expert help when DIY isn’t enough
repair isn’t always a job for a Sunday afternoon—especially with newer systems that use internal routing or finned pads. At Vargas Bicycle Workshop, we’ve seen brakes fail due to DIY mistakes such as classic overtightening, using the wrong fluid, or skipping key steps in the bleeding process. We’re happy to explain the fix, show the old parts, and let customers know what went into the repair. Don’t hesitate to ask; a reputable workshop should always be willing to walk you through what they’ve done and why.
Wrap-up: why hydraulic brake repair matters for every rider
No matter if you’re an everyday commuter or a weekend mountain biker, good braking is non-negotiable. A little time spent on hydraulic brake repair pays off in safe, smooth rides and fewer surprises out on the road or trail. If you have doubts or want to learn more, drop by the workshop or explore the resources of leading toolmakers like Park Tool’s website for more technical advice. Above all, listen to your bike—because brakes in top shape mean a ride you can truly enjoy.